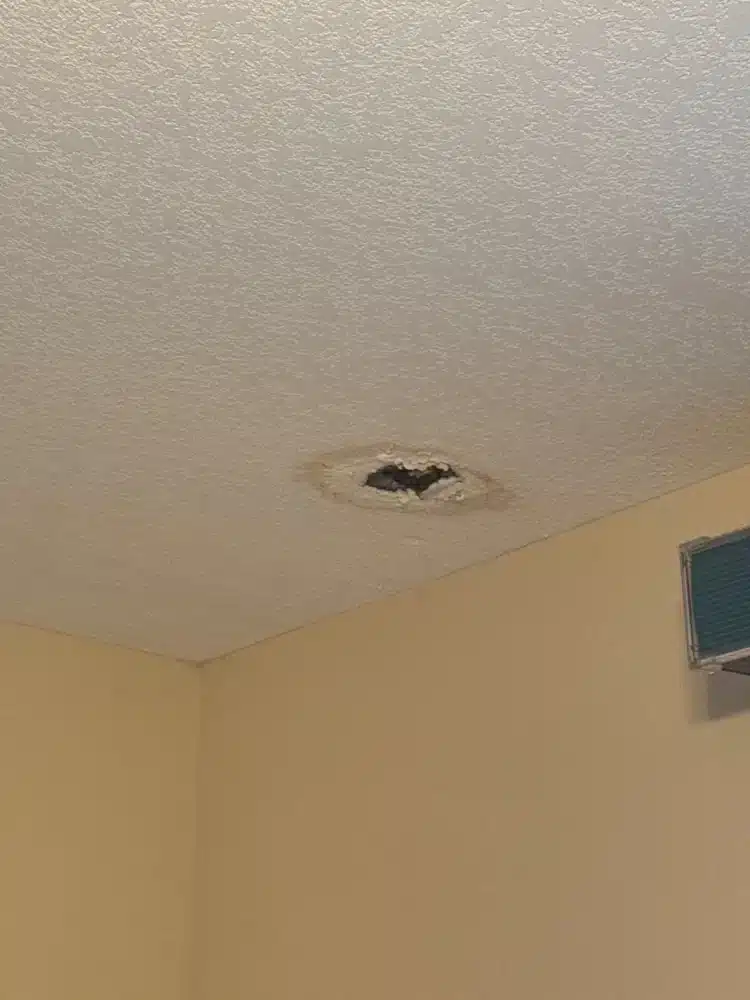
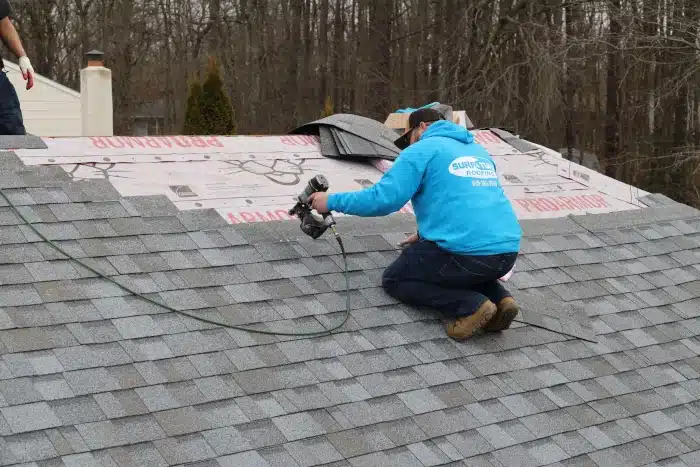
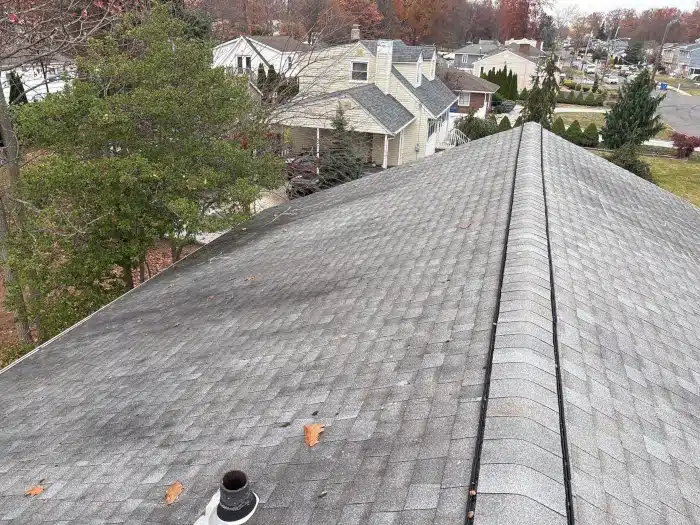
The pitter-patter of rain on the roof is a cool backdrop for a lazy day… until you hear that dreaded drip inside the house. Suddenly, your home feels more like a sinking ship you don’t want to be a part of, and that’s when knowing how to fix a leaking roof helps.
Before you panic and start moving furniture or placing buckets everywhere, take a deep breath because you can fix it — to some extent at least.
This guide will list some quick tips and solutions to fix a leaking roof so the dripping doesn’t ruin your furniture and mental peace. So, keep reading and let’s know about roof leakage fixes that’ll keep you dry and your spirits high.
Quick Tips & Solutions to Fix a Leaking Roof
Fixing a roof’s structural damage is expert roofers’ job because they know these things inside out and have all the tools handy. But, if the leaks in your roof aren’t that bad, you can tackle some of them yourself so your place isn’t a drippy mess.
Here’s how to fix a leaking roof and contain its impact:
Identify the Source of the Leak
The first (and most obvious) step to fixing a leaking roof is to know where the problem is coming from. The crack could start at one end of a roof and the drop could fall from where the long crack ends. So, if you only tape or seal the part where the drop is coming from, the problem stands as it is. Therefore, always inspect in detail and identify the source of the leak.
So, start inside your home, take a flashlight and head to the attic to look for signs of water damage or discoloration on the wood. Wet spots or black marks are telltale signs. But if you don’t have an attic or can’t find the leak from the inside, it’s time to head outside.
You should also inspect the roof surface on a dry day. Walk the length of your roof with caution, searching for missing shingles, damaged flashing, or other breaches. It’s often the little things that cause leaks, like a cracked tile or a loose seam.
Apply Roofing Tape
Once you’ve pinpointed the leak, it’s time to seal the deal — and roofing tape is your quick fix. This strong and waterproof adhesive can bridge small gaps to prevent water from sneaking back into your home.
Here is how you apply roofing tape to a leaking roof:
- Firstly, clean and dry the surface around the leak as dirt or moisture can prevent the tape from adhering properly.
- Then cut a piece of roofing tape to cover the leaking area plus a few more inches all around for secure coverage.
- Peel the backing off the tape and place it over the leak while pressing it into place. Also, smooth out bubbles or wrinkles to ensure a tight seal.
Roofing tape is a good temporary solution but not a permanent fix. It will buy you time until you can bring in professional roofers to assess and repair more significant damage.
Use Roof Sealant or Caulk
Roof sealant or caulk is another line of defense against minor leaks as it works like a waterproof barrier that fills cracks, holes, or gaps in the roof. Using sealant is an affordable solution that can contain water damage and prolong the integrity of your roof.
If you prefer filling the cracks with something more durable than tape, here is how to fix a leaking roof:
- As explained earlier, first inspect the roof for visible signs of damage. Look at areas around chimneys, vents, and junctions where different roof planes meet, as these are common leak points. Then clean the area with a brush or cloth to remove dirt, debris, or moss that could stop the sealant from adhering properly.
- Then get a high-quality roof sealant, preferably a silicone-based one, as these types provide flexibility and reliable weather resistance.
- Cut the tip of the sealant tube in a way that it matches the size of the crack or gap you are filling. While using a caulking gun, apply the sealant into the cracks while making sure that it goes deep enough to create a complete seal.
- If needed, smooth the sealant with a putty knife or your finger (wearing a glove) to ensure it covers the crack fully and forms a smooth surface.
- Then let the sealant cure according to the manufacturer’s instructions, which will likely be 24 to 48 hours. Avoid contact with the area during this time, and check the weather forecast to make sure no rain is expected a day or two after you seal the cracks.
Install a Temporary Tarp
If there’s more substantial damage to your roof and an immediate repair isn’t feasible, a temporary tarp can stop water ingress and minimize damage.
Follow these steps to set up a tarp that can fix a leaking roof:
- Pick a heavy-duty and waterproof tarp which is large enough to cover the damaged area. It should also be an additional three-to-four feet on all sides as that will keep water from seeping under the edges.
- Then, drape the tarp over the roof so that it lies flat and extends over the roof’s peak. Secure one edge of the tarp with heavy-duty nails or screws at the roof’s edge with strips of wood to clamp the tarp to the roof. Make sure to stretch the tarp tight across the roof and secure the opposite side in the same manner so there are no wrinkles or sagging areas where water could pool.
- When the installation is complete, periodically check the tarp to see if there are signs of lifting or tearing and address these right away to maintain the tarp’s impact.
Replace Damaged or Missing Shingles
Shingles shield your home from rain, wind, and debris. And, when they are damaged or missing, it exposes your roof to leakage. So, if you find out that some roof shingles are missing or broken, here’s how to get over this issue:
- You’ll need to remove a damaged shingle by lifting the surrounding shingles and pulling out the nails to replace the damaged one.
- Doing so will make room for a new shingle, which should be slid into place and nailed down securely.
- Make sure that it aligns with the others to avoid any gaps where water can enter — applying some roofing cement under the overlapping shingles can also help to secure them against wind and prevent future damage.
Repair or Replace Flashing
Flashing seals the joints around your roof’s most vulnerable areas like chimneys, vents, and skylights. It keeps water from seeping into your home, and when it gets damaged, you face water leakage.
Here’s how to fix and replace flashing on your roof:
First of all, remove old and damaged pieces of flashing to make sure there’s no way for water to seep in.
Then clean the area around this flashing for a good seal with the new flashing, which should be cut to fit the exact space and securely fixed in place.
Lastly, cut and shape your new flashing to fit the area and secure it in place with nails. Then, seal the edges with roofingsealant to create a waterproof barrier.
The flashing must overlap the roofing material if you wish to divert water away from the seams, so make sure the new installation follows this principle to prevent future leaks.
Clear Clogged Gutters and Downspouts
Gutters and downspouts manage rainwater runoff from your roof and if they become clogged (with things like leaves, twigs, and debris) water can seep through. It can eventually get under the roof, shingles or spill over, which means your home’s foundation and landscaping will face noticeable damage.
That’s why the gutters and downspouts must be clean and unclogged. So, visit your roof and if you notice this problem, here’s what to do:
- With the help of a gutter scoop, plastic spatula, or your hands, remove any debris accumulated in the gutters. Start at the drain outlet and work away from it to minimize the chance of further clogging.
- After removing the debris, flush the gutters and downspouts with a hose so they are clear. Watch the flow of the water, and check for any breaks or leaks in the system.
- Look for signs of sagging or detachment — if any section of the gutter is loose, reattach or replace it as needed for a proper slope and secure attachment to your home’s fascia boards.
Act Now and Protect Your Home
Don’t wait for a leak to tell you it’s time to check your roof — tackle simple fixes before they morph into bigger issues that dent your budget.
Being proactive with these tasks can stop serious damage and save you money down the line. So start today — inspect your roof and make sure everything is sealed tight. A little effort now means a lot of peace of mind later.
If you feel you can’t fix the problem alone, call experts at Surf & Turf Roofing and we’ll take it from there. Our tried and tested fixes make sure your roof and peace of mind are secured at all times.
Give us a call, and let’s discuss this further.
FAQs
How often should I inspect my roof for potential issues?
You should inspect your roof at least twice a year, ideally in the spring and fall.
What are the signs that my roof’s lifespan is coming to an end?
Frequent leaking, noticeable sagging, and extensive shingle damage are some signs that it’s time to replace your roof. If your roof is 20-25 years old and showing these signs, consider a full replacement.
Can I perform roof repairs myself, or should I hire a professional?
Minor repairs like sealing a few shingles or cleaning gutters can often be done safely by a homeowner. However, for extensive damage and structural issues, it’s best to hire a professional.


